Many, many, many Christmases ago (okay, maybe it was only 8-ish years, but it feels like way more), I decided it would be fun to whip up about 8-10 different holiday treats for about a dozen different families. I went all out, for real. I got these adorable little candy-striped boxes, and holiday bags and set to work making cookies, caramels, candies, meringues, chocolate bark, etc, etc, etc. You get the point, I made a LOT of treats. And I packaged them up all in their little boxes and bags, each treat in it’s own designated container. And I carefully packed each set in a box and shipped the goodie boxes out to out-of-town family and friends. And when I was done, I swore off all baked goods (that lasted until about January).

The truth is: I love baking. I love candy making. But, it’s not sustainable and healthy to only do that and never cook. So I’m trying, really I am, to get some non-sweets on the blog right now, but my gosh, the holidays make that SO hard. So today, I gave in. Today is for sweets. I do have a couple actual real-food recipes in the queue, I’ll try to expedite them for you because they are too good to keep to myself.
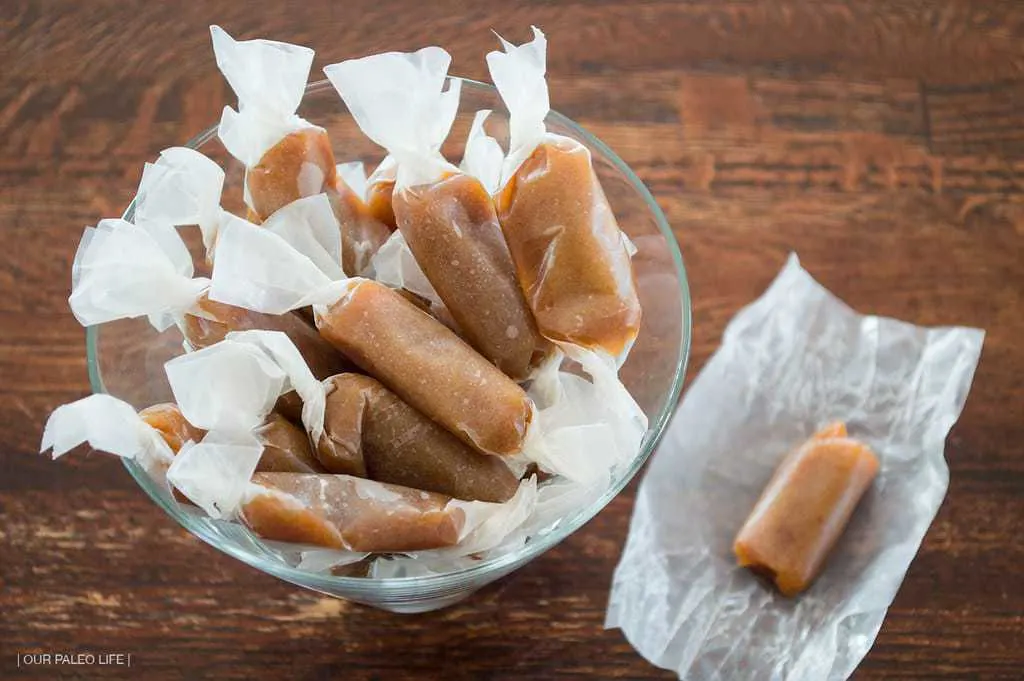
Now back to sweets. A couple months ago, I ordered some Cocomels in my Thrive box (have you signed up yet?) because I try to always put a “mom treat” in my order. That set in motion a rekindled love of caramels for me. I had been wanting to make some again but never got around to it. That is until last week. While browsing Pinterest, as I often do, I came across some Apple Cider Caramels and I was all “Wha? That’s amazing!”. So I promptly ran to Whole foods and grabbed two more jugs of cold-pressed apple cider (well, I needed some for drinking too!).
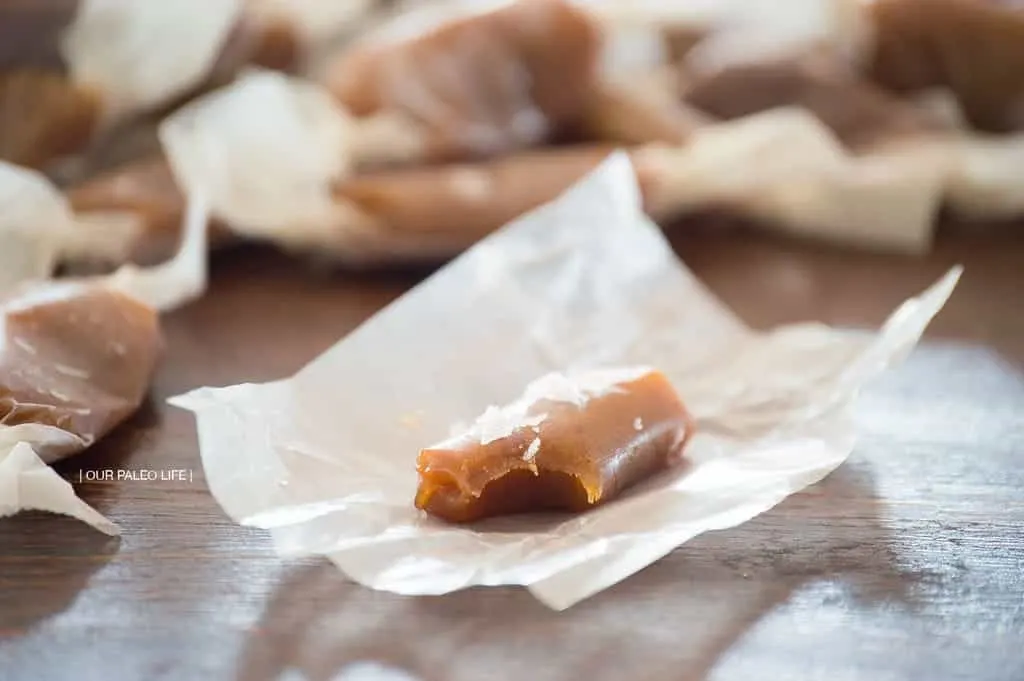
The first moment I had an hour to spare, I quickly scrubbed a pot (what, you think my kitchen is always clean?!) and got to boiling. These caramels could not have come out any better. I am so in love with them. I also can’t stop eating them, so I brought them to a friend’s house and “accidentally” forget them in her fridge so I will stop gorging on them. She’ll thank me later…

I prefer tiny little chunks of caramel, so I cut mine on the smaller side, about 1/2″ x 1″, that way I don’t feel bad when I eat a bunch because they’re so tiny, literally bite-size, so it’s okay. Right? Just tell me it is.
And when you make these, pay close attention to the last step. It’s important. Trust me.

Apple Cider Caramels {dairy-free}
An amazingly delicious twist and the classic soft caramel, apple cider and cinnamon give this classic holiday treat a delicious ad unexpected flavor.
Ingredients
- 4 cups Apple Cider
- 1/2 tsp Ground Cinnamon, we prefer Ceylon Cinnamon
- 2 tsp Coarse or Flaky Sea Salt, we use Maldon Flakes
- 1/2 cup Ghee, see notes
- 3/4 cup Mild-Flavored Honey
- 1/2 cup Coconut Sugar
- 1/3 cup Coconut Milk, (canned, full-fat) or Coconut Cream
- Coconut Oil, for greasing the pan and knife
Special Tools
- Candy Thermometer, not required but extremely useful to prevent burning the caramel and getting it to right temp for the best consistency
Instructions
- In a 4-qt saucepan, bring the apple cider to a boil over high heat. Continue boiling until the cider has been reduced to dark (but not burnt) thick syrup. This can take up to 40 minutes. If you drag a spoon across the bottom of the pan and the liquid doesn't immediately fill the spoon's path, you're good to go.
- While the cider is boiling, gather the other ingredients and have them measured and ready to go. You'll have to work pretty quick once the caramel starts cooking and won't have time to measure then.
- Line an 8x8 baking pan with parchment paper, overhanging the paper on all 4 sides. Very lightly grease the bottom of the parchment with the coconut oil. Set aside.
- When the cider has reduced to a syrup, remove from heat and stir in the ghee, honey, coconut sugar, and coconut milk. Return back to the burner, reducing the heat to medium-high.
- Place the candy thermometer on the pan and boil the caramel until it reaches 252°F. Be sure to reduce the boiling temperature by 2°F for every 1,000ft in altitude. This doesn't take long, maybe 5 minutes, so watch the thermometer carefully and be sure you don't burn the caramel.
- *Note* If you are not using a candy thermometer, check the caramel periodically, starting at about 2 minutes by dropping a bit into cold water. If the caramel solidifies and holds it's shape, yet is still pliable, your chewy caramels are done. Move on to the next step.
- Once the caramel has reached the correct temperature, immediately remove from heat and stir in the cinnamon and salt, just enough to combine. Pour the caramel into the prepared baking sheet.
- **(Optional) Cool at room temperature for 30 minutes and lightly sprinkle additional salt on top, not a lot!**
- Cool uncovered in the fridge for 2 hours. Once the caramels have cooled and are set, use the parchment flaps to lift the caramel out of the pan and onto a cutting board.
- Oil your knife (and make sure it's sharp) and slice your caramels into your desired size (we cut them into small 1" x 1/2" pieces so we can eat a lot and not feel bad because they're small), oiling your knife after each cut to prevent the caramel from sticking to the blade.
- Wrap individual caramels in pieces of parchment paper cut to fit the size of your caramels (enough to wrap all the way around and extra on the ends to twist).
- Store at room temperature for softer caramels (up to 7-10 days) or in the fridge for firm caramels, our preferred method (up to 2 weeks).
- Give them away to friends, don't eat them all. This is the most important step in the process!
Notes
- Use coconut oil for truly dairy-free (not just lactose-free)

Tamara
Tuesday 29th of October 2019
I only need dairy-free not all-in Paleo. Will the original cup of sugar and half of brown still work with the coconut milk?
Carla
Thursday 4th of October 2018
What are the Macros on these?
MaryEllen Durkin
Wednesday 20th of December 2017
I hate to break it to you, but ghee is a dairy product - it's clarified butter. These caramels may be wonderful, but please don't tout them as dairy-free.
Kendra Benson
Wednesday 20th of December 2017
There's an option to use coconut oil to make it dairy-free (although ghee is lactose-free which is what a lot of people have a problem with).
Ashley
Sunday 13th of August 2017
I notice that you use coconut products in just about everything. My daughter is allergic to coconut and my son to all nuts. Do you have recommendations for alternatives? Especially in this recipe that seems primarily coconut?
Melissa
Wednesday 30th of November 2016
Looks great!! Just to clarify, ghee is made from butter and is sometimes called clarified butter. Although it is technically a dairy product, just like milk, yogurt, ice cream, cream, butter and cheese, it is made only from the fattiest part of dairy and contains very little milk protein.