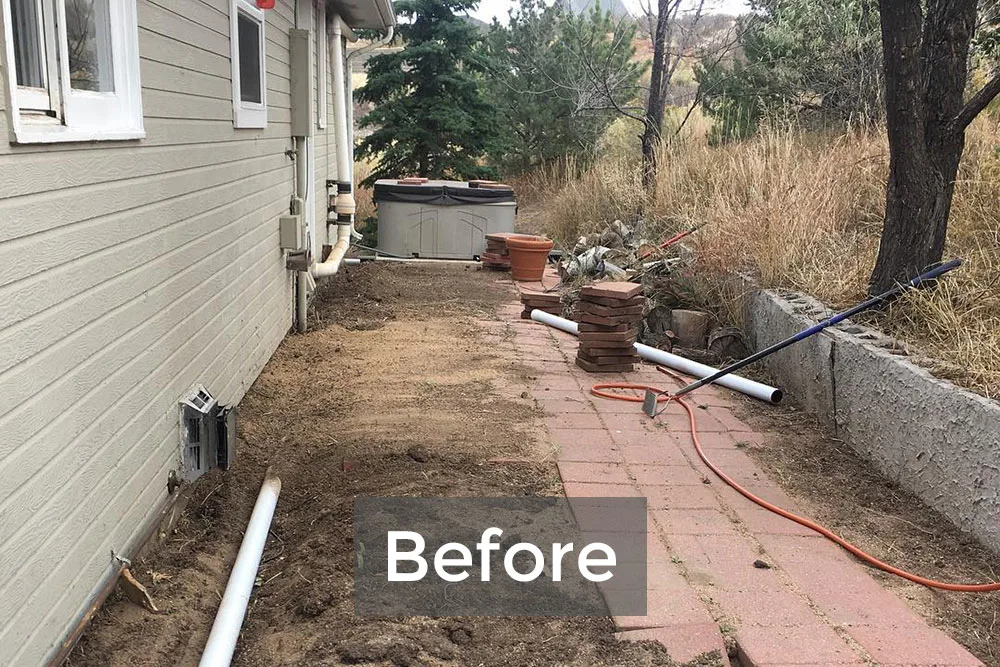
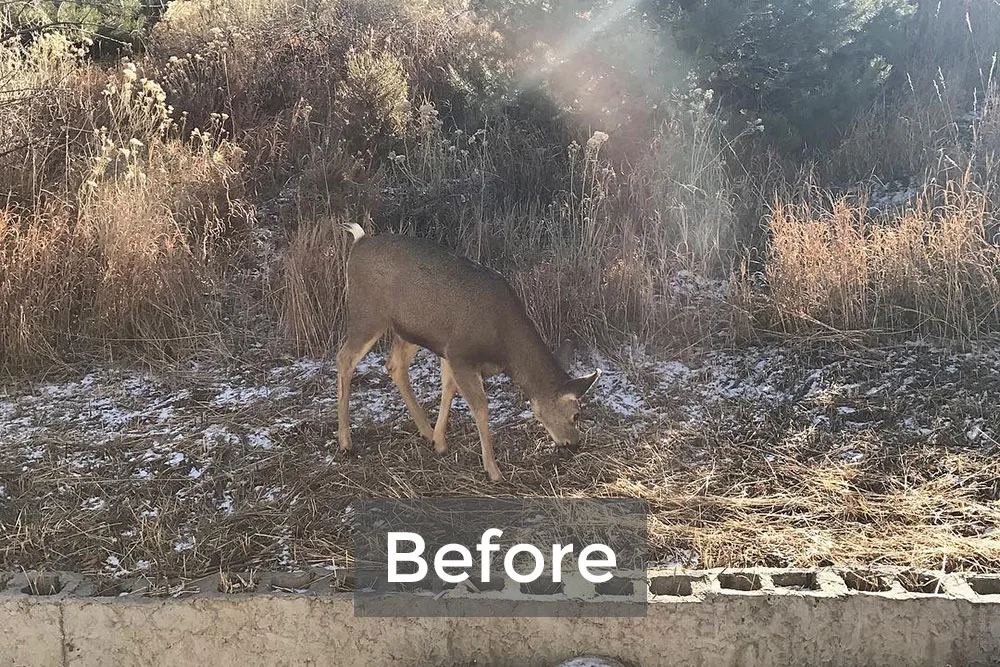
Living on the side of a hill and trying to build can be challenging. Luckily, at this property we’ve got a lot of good dirt and a lack of rock. I’ve put a lot of slams in with my pick axe… time for a few more with this backyard, secluded deck complex.
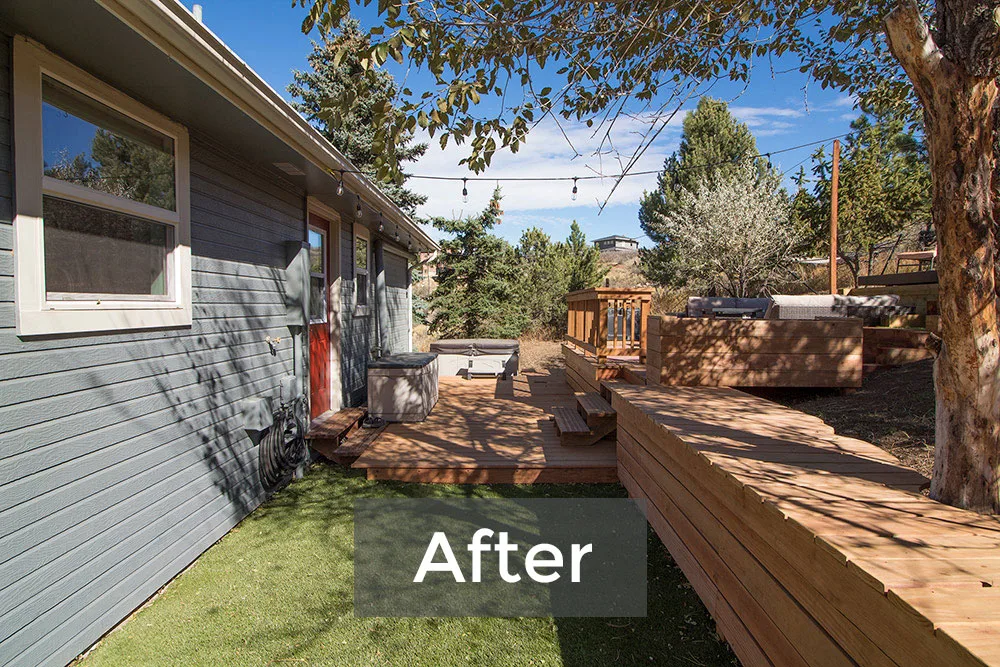
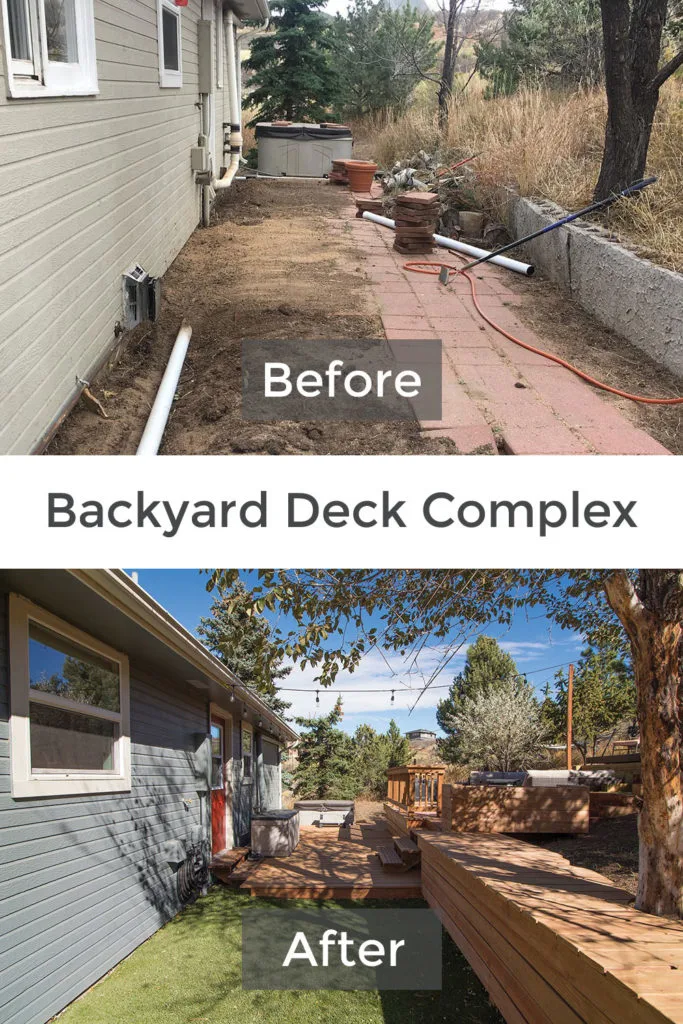
I’m calling this deck build a complex cause it contains a swing set, sun deck, retaining walls, artificial grass and more. The project blossomed (I really didn’t plan to do as much as I ended up doing). We love it and completed it just in time to list our house. Here’s an overview.
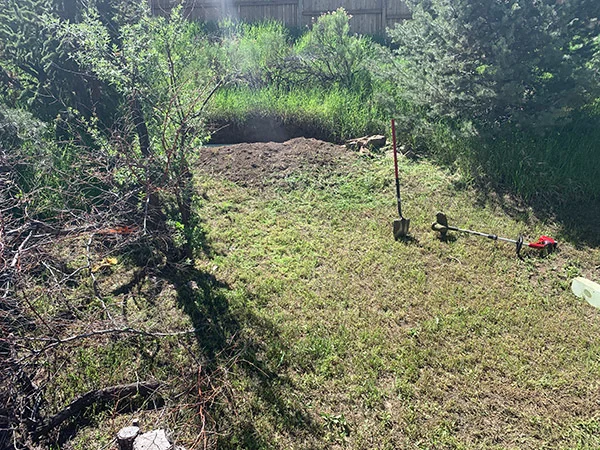
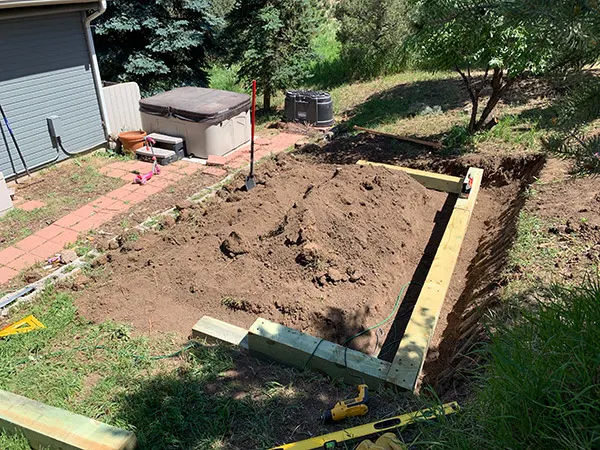
Clearing Area for a Sun Deck
It all started with a sun deck project I wanted to complete while my wife and daughter were at girls camp.
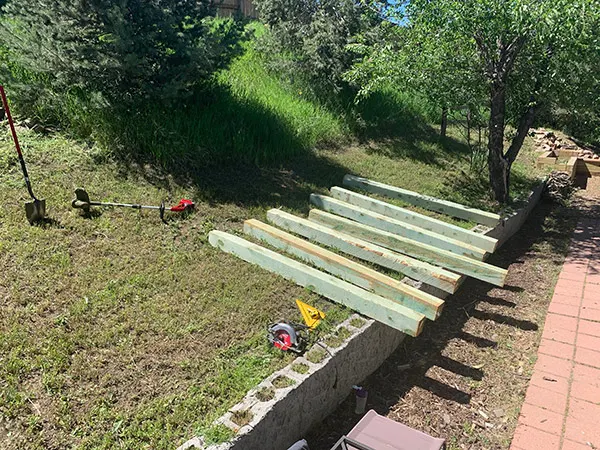
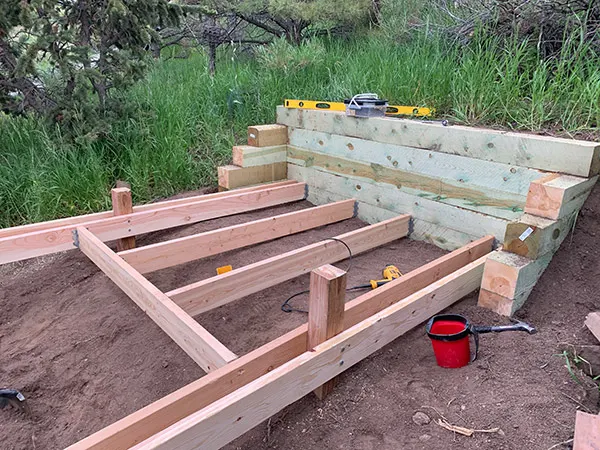
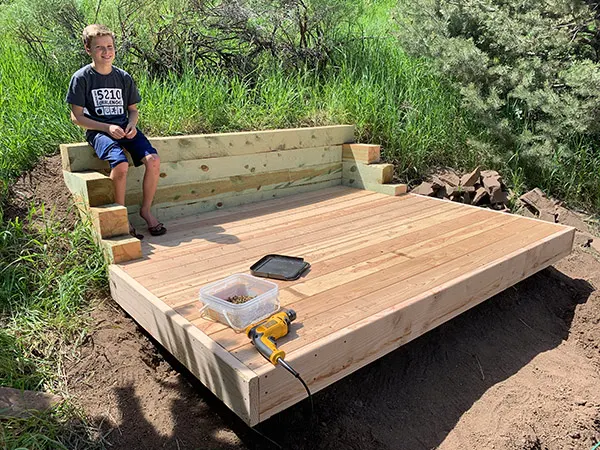
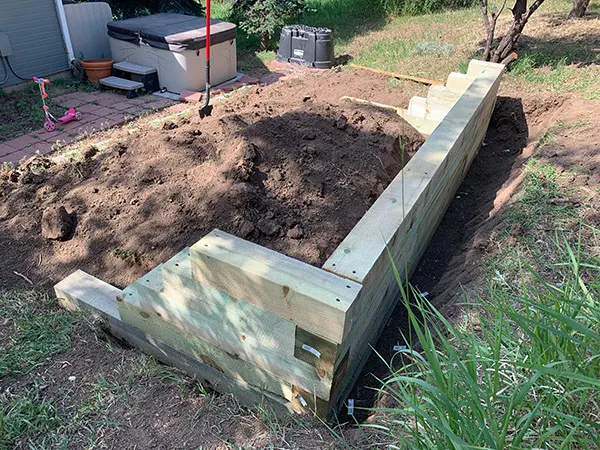
Landscape Timber Retaining Wall
When placing landscape timbers as a retaining wall take your time leveling the dirt. I use a 2×4 and a large level. These timbers are 6×6 – I use 8 inch timberlok screws and after enough times heating up my drill, I eventually purchased a 20 volt impact driver. That purchase was life changing. Buy extra batteries.
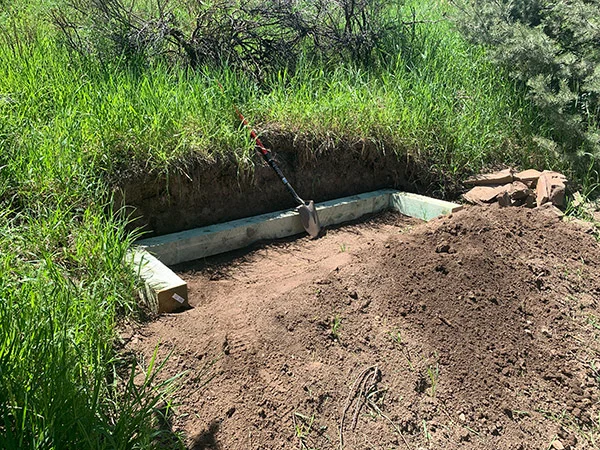
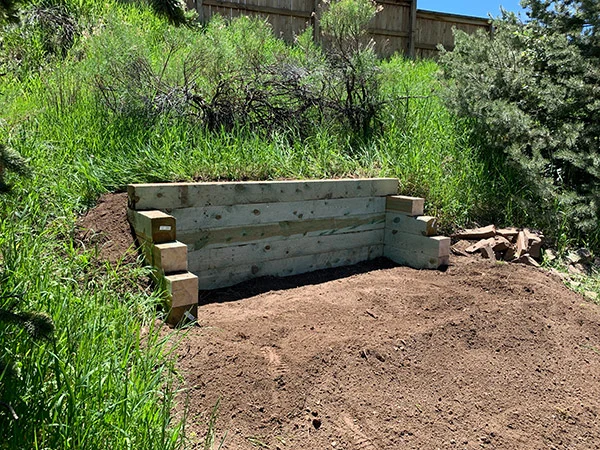
This was supposed to just be big enough for a sun deck to soak up all those healthy rays… it was the start (even though I didn’t know it at the time).
Swing Set with a View
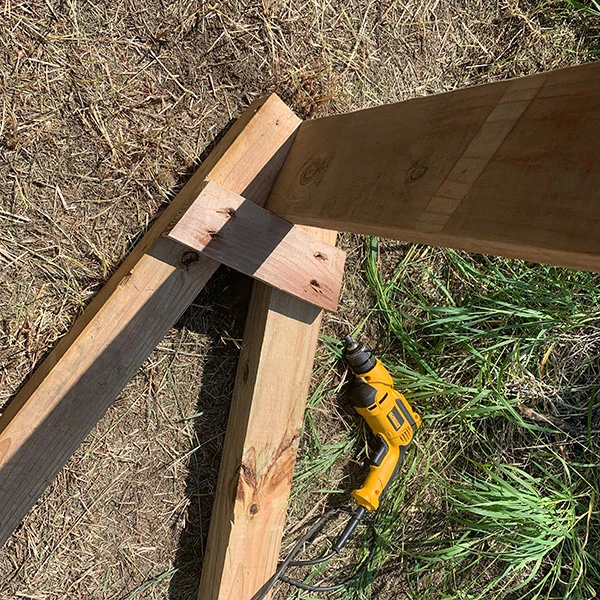
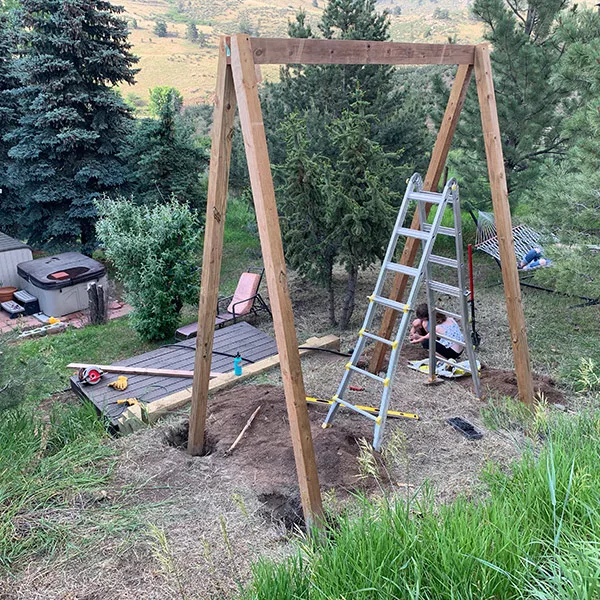
I promised my youngest a swing. We built it. She loved it… for about a month (insert eye roll). If I make another swing I’ll probably do it the same way. This method would have been better with a third set of hands but we got it done. Make sure to cut out the right angle at the top of the post.
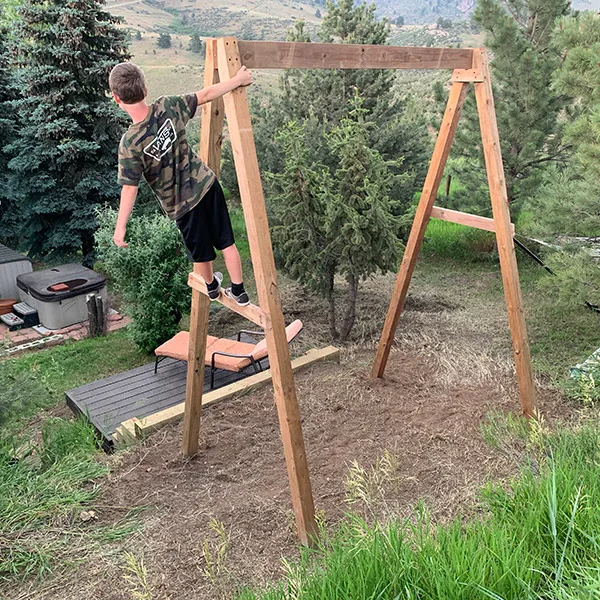
After we created the pair of posts we attached the beam to one side and then set it up with the other post “A” already positioned in the holes. Once we had everything secured we added to dirt to the holes to perfectly level the beam. After we were level – the concrete was drippy dropped in to the 4 post holes.
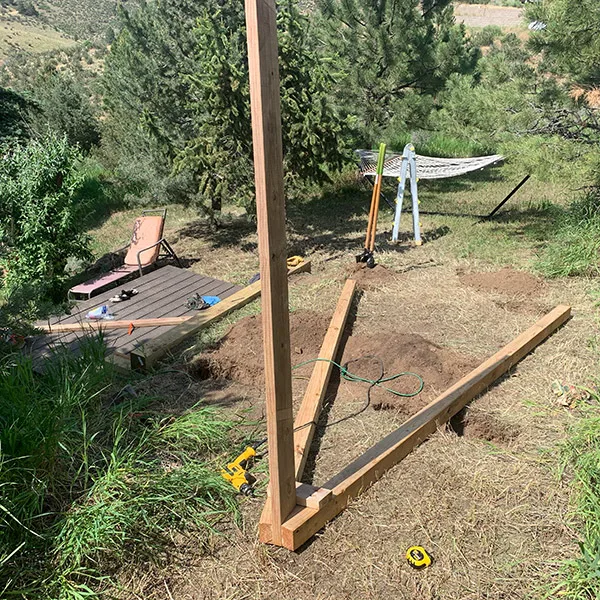
Sturdy, tall and ready for action!
Pick Axe Party
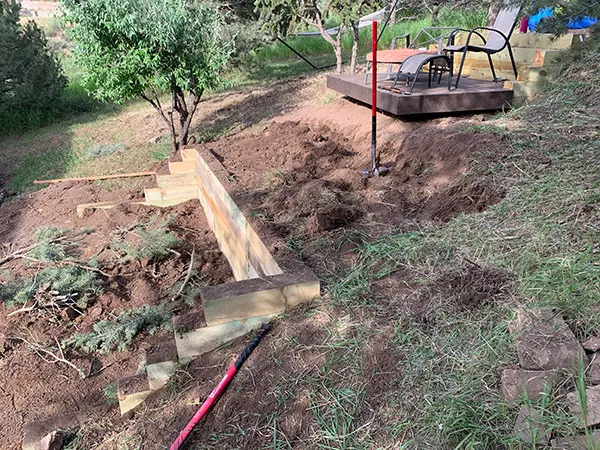
I had to move a lot more dirt than I was bargaining for. Flat, level and ready for landscape timbers, pretty easy (and forgiving).
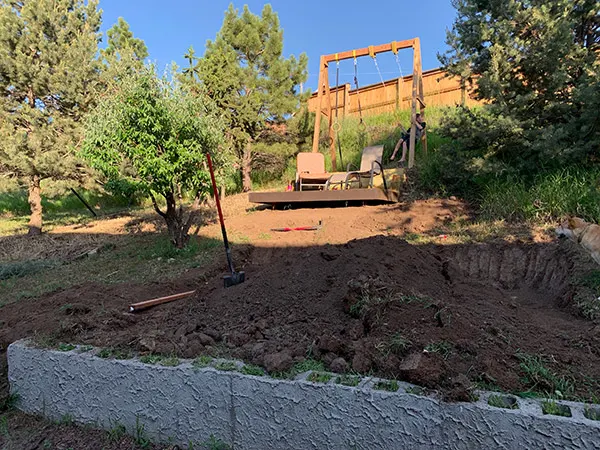
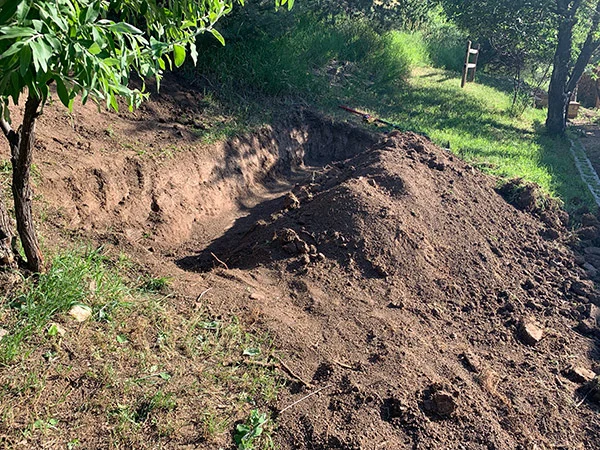
Same story as above (just a bigger wall this time).
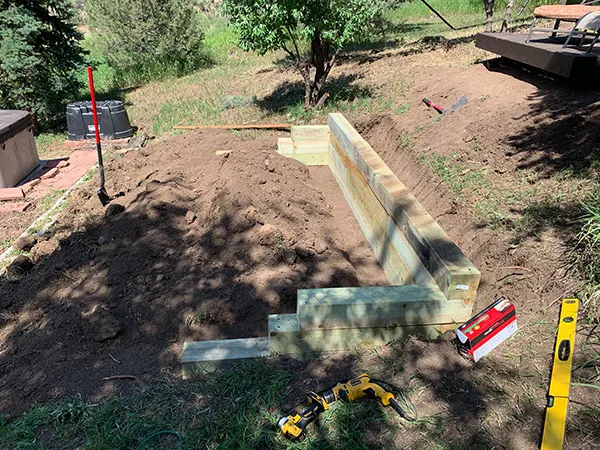
After the lower and larger section I decided I needed to bridge the gap between the sundeck and the large deck… more digging and pick axe work (my favorite)!
Prep the Posts & Beams
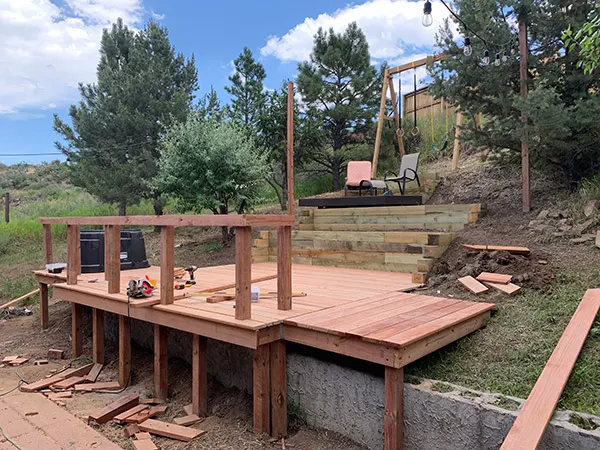
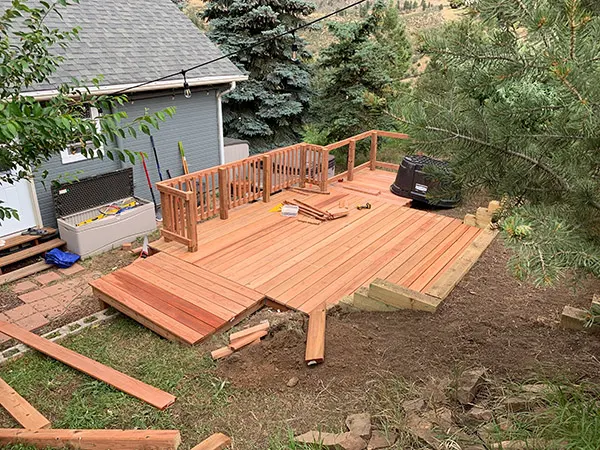
I’m pretty sure I went overboard here on how many posts I set up and this was really just due to a lack of knowledge. Each project I complete I learn. If I had to do this over again, I’d only include 3 posts and then I would attach the beams to a rim joist (should have been obvious). What I did ended up taking longer, being more expensive, and probably being sturdier in the long run. Oh well, I can live with this life lesson.
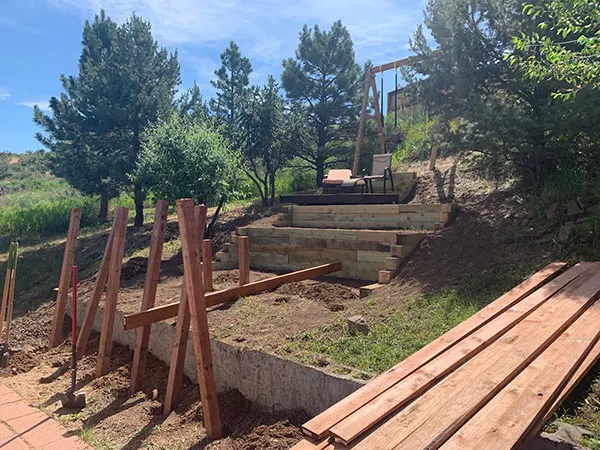
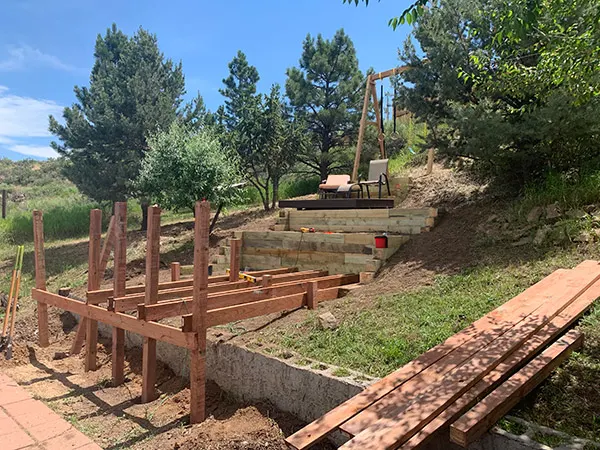
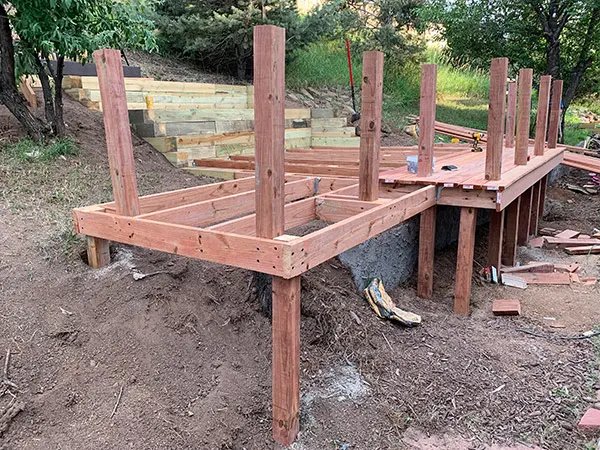
With all of the post and beam work I did, I used the appropriately sized timberloks to secure everything right. The extension on the north side seen in the right image is for our chilly dipper (cold tub).
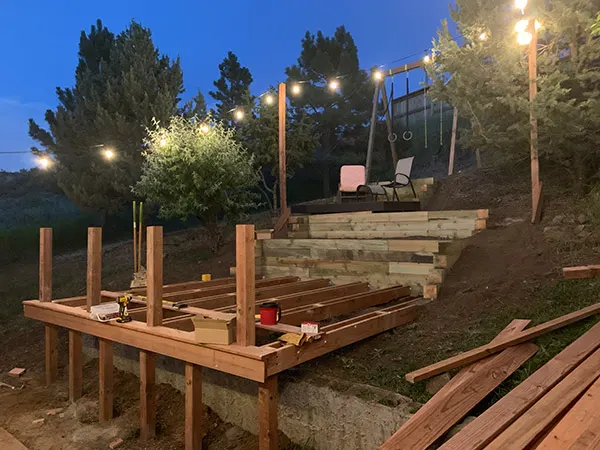
Hand Rail Deck Lighting
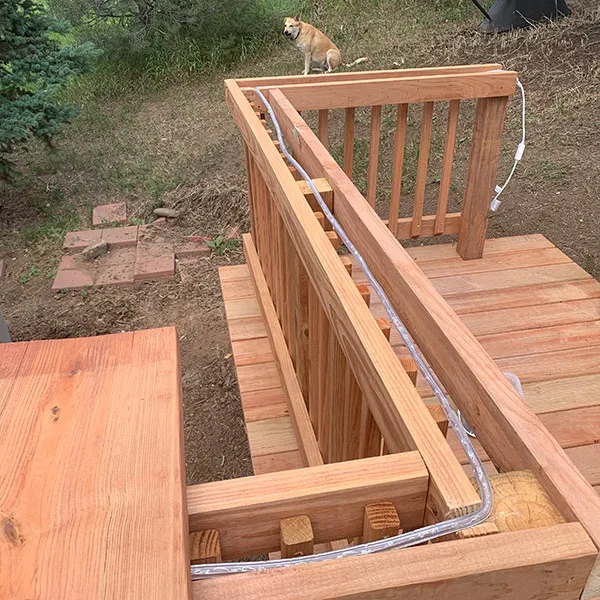
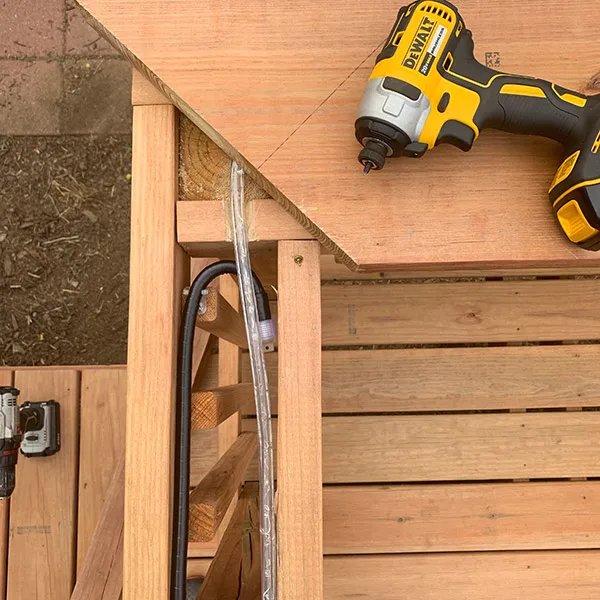
Decided to use a rope light under the hand rail – shines light down and adds a really great look. It’s not visible (no cords and totally out of the way) unless you want light.
Lower Deck Section
This thing just keeps growing! With all of the elevation changes in the back area here… we couldn’t just build one large deck (that would have been a lot easier). And due to the nasty ground when you get out of the hot tub, we needed a solution.. more deck.
With this section I opted not to dig holes and use concrete. Figured with all of the pavers I had on hand it would be easiest (and just as secure) to set my posts on “level” ground and then cut off the excess 4×4 posts at the top of the support beams. This process ensured the deck support beams were level.
The concrete tubes you see in these photos are for future 6X6 posts for a roof (if desired). I wanted to make sure it was planned and ready, even if we didn’t decide to build a roof.
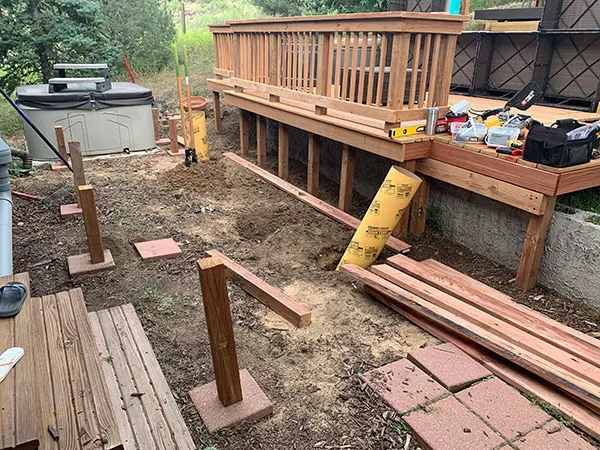
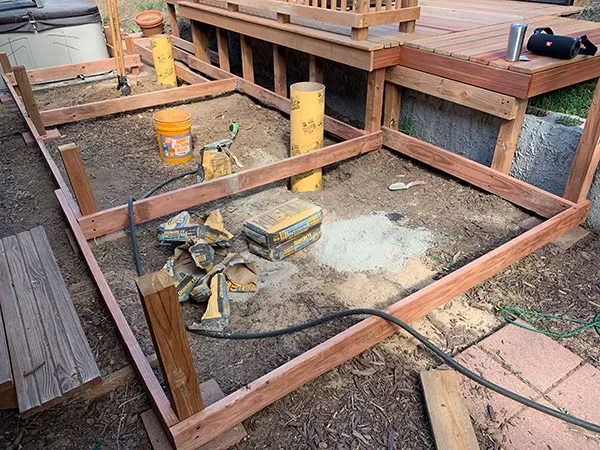
It’s tough to see but the image on the right shows the concrete columns ready for future posts.
And it’s all starting to take shape… however, you can still see that old retaining wall. That stupid cinderblock, concrete wall was structurally sound but was a mess… and ugly. I knew I wanted to cover it and with enough time staring at it, I figured out what I’d do.
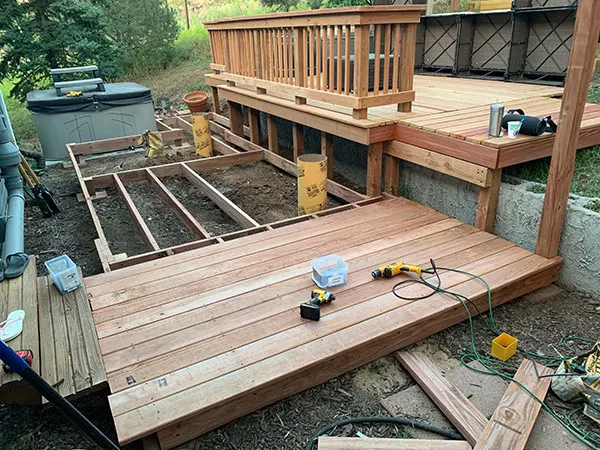
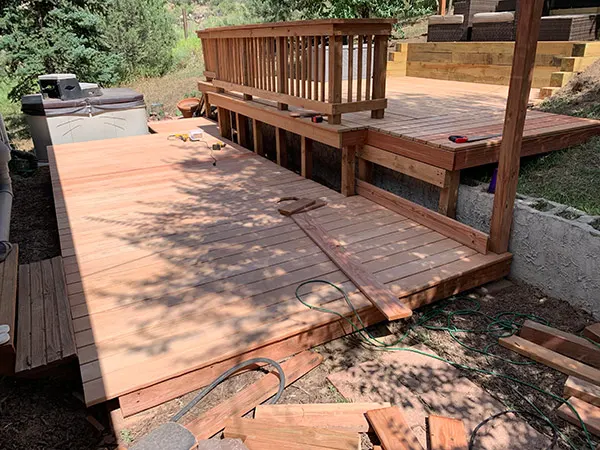
I used the same treated deck boards and used them to complete an attractive deck screen. With the addition of that and the stairs… I thought I’d be kinda done for now. Nope. There was still more visible retaining wall.
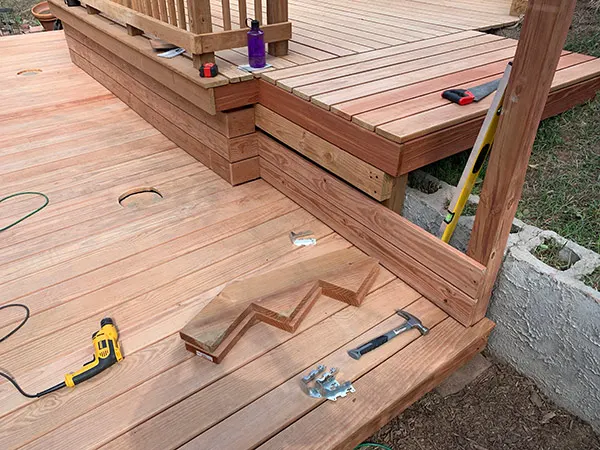
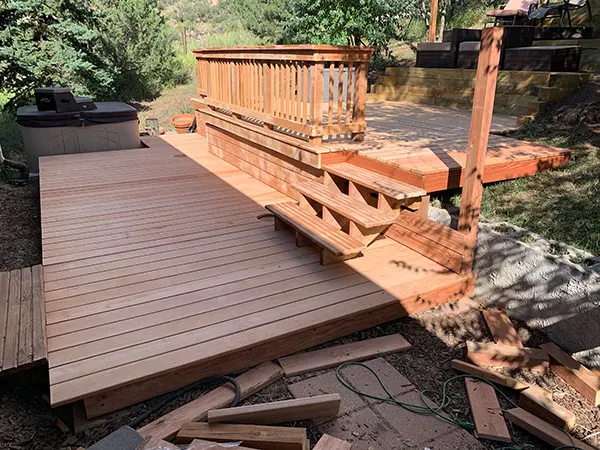
So I got to work with making what we call the “plank”. All the way from the landscape timber planter box to the new deck, we started to build the plank.
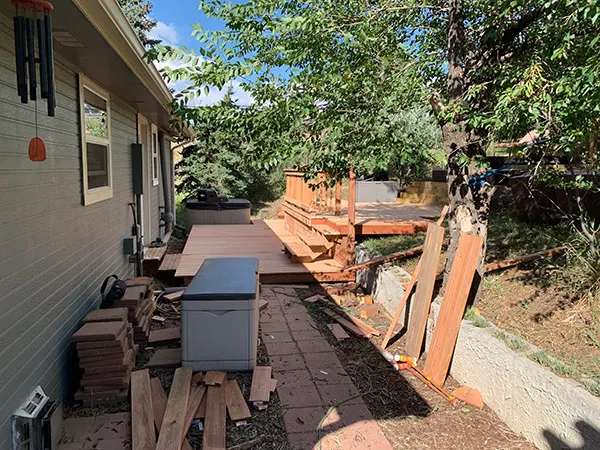

Finishing Touches
As you can see in the images above there was still dirt. I could use all of the pavers I had on hand to cover it but thought artificial turf would make more sense. It did. The fake grass was easy to install and looks incredible.
The grass along with the deck screening along the old retaining wall makes the area behind the house actually look usable!
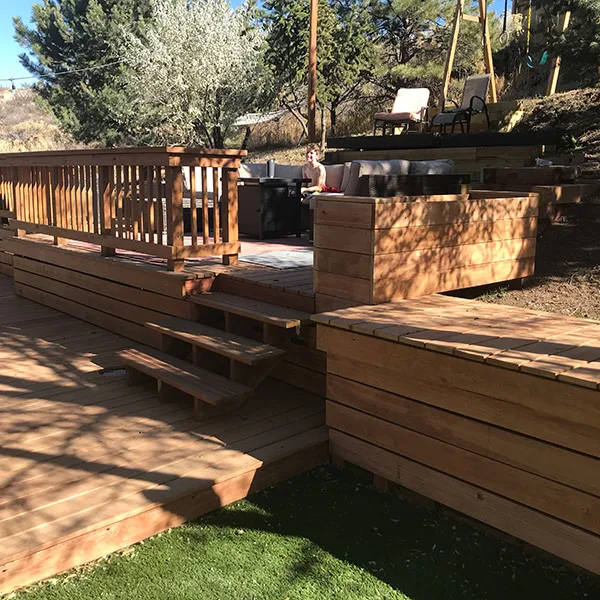
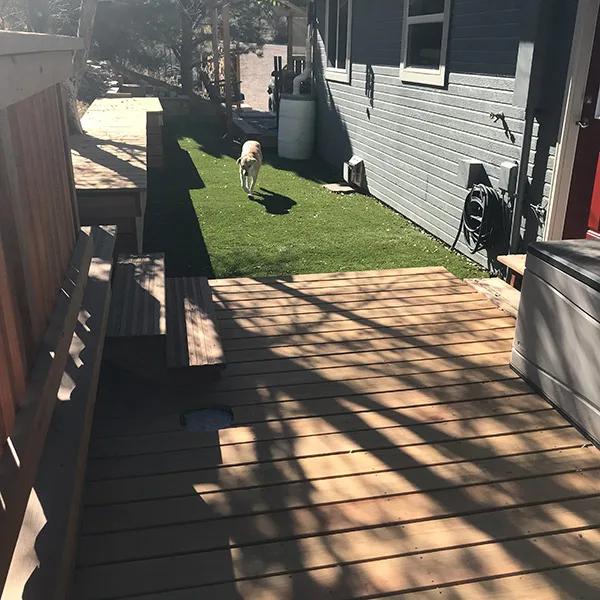
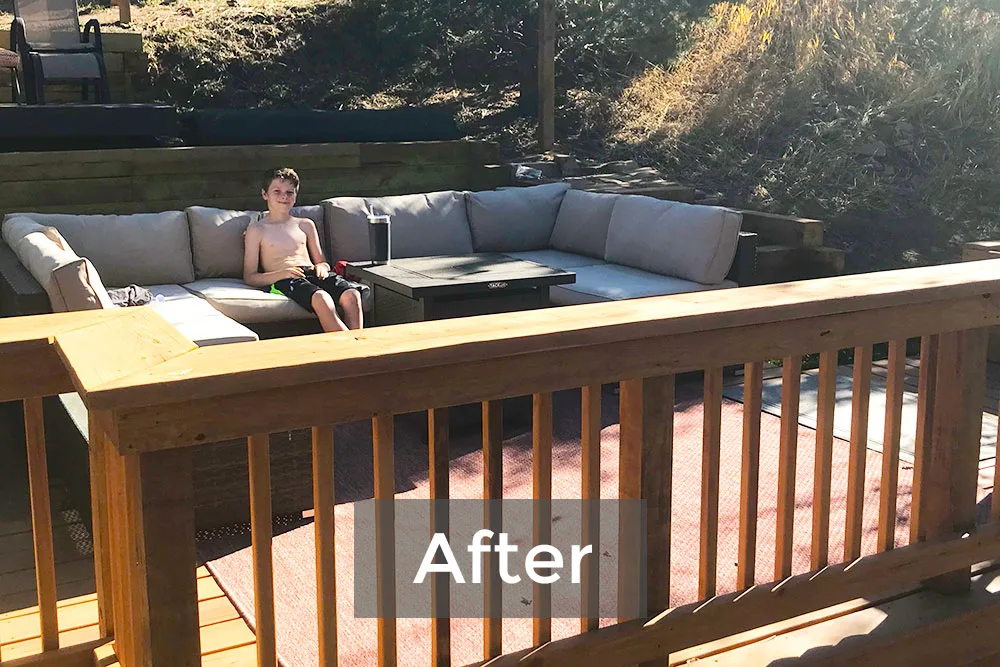
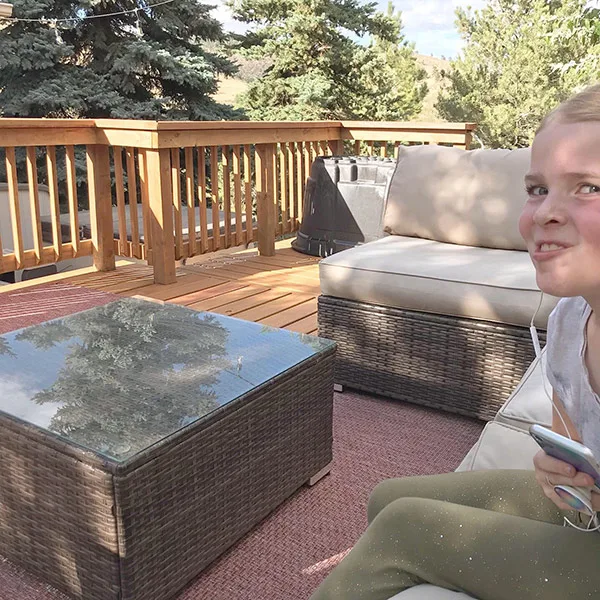
We really love how this area turned out. It’s nice and clean, functional, and private.
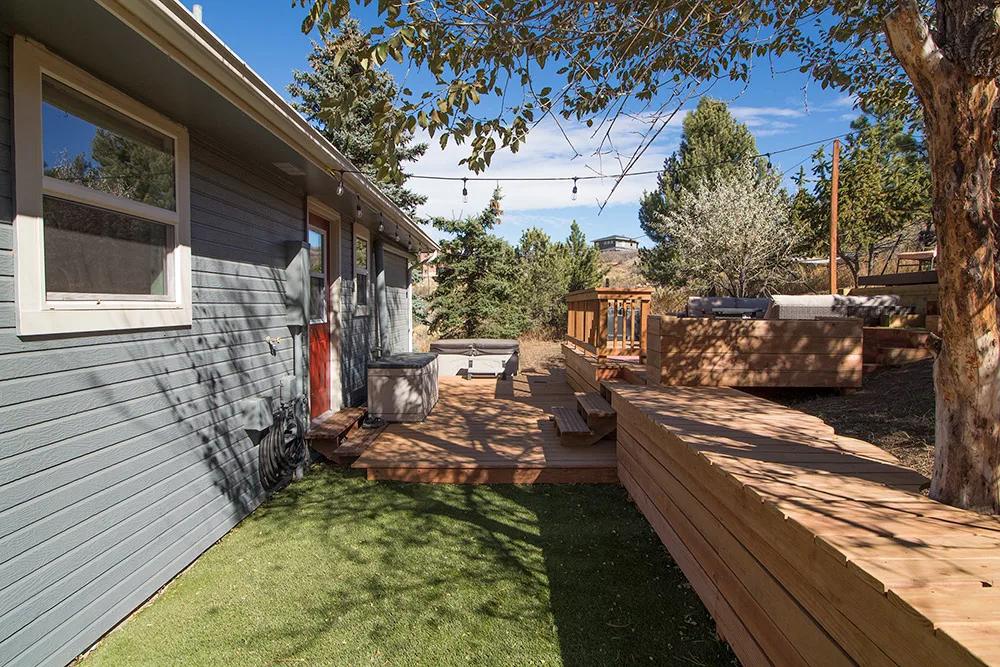
In the bottom left of the image below you can see the other deck footing (making 4 in total). These are for a future roof or pergola (thinking ahead).
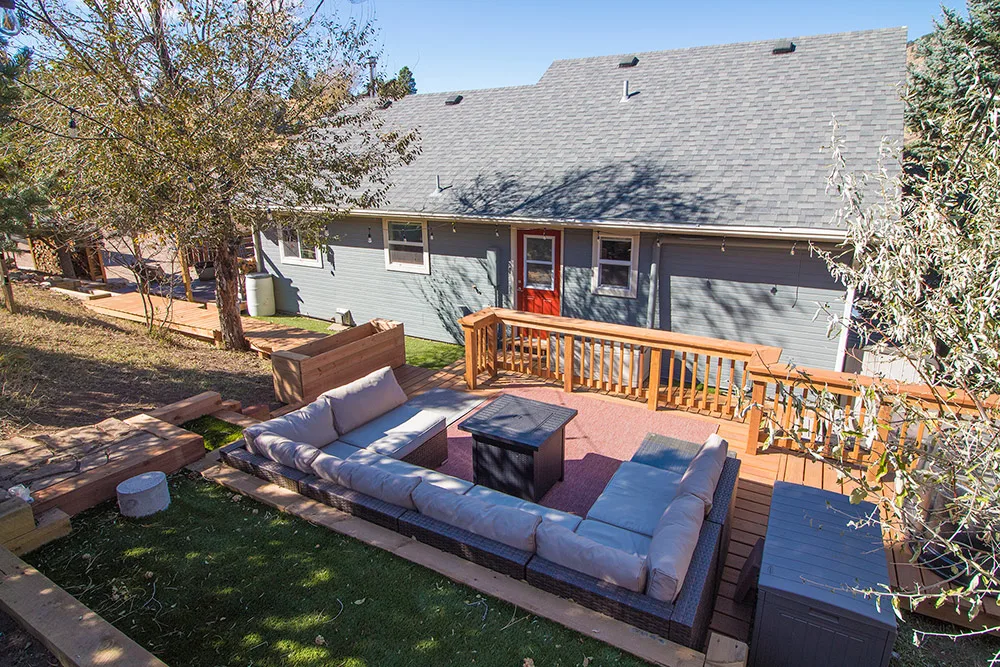
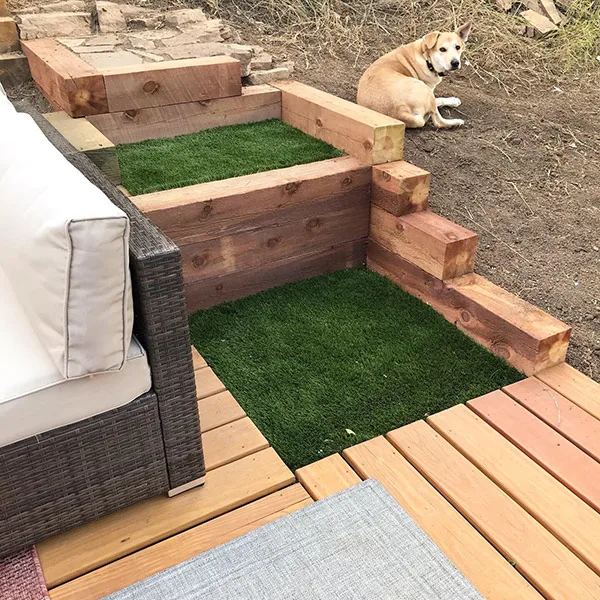
And not mentioned… I added a few more retaining wall platforms using landscape timbers to clean up the space.
From creation of a sun deck to a full outdoor living room, this project was fun. I got to spend time with my family (everyone helped) and I got to be outside working. Perfection.

Landon "RusticLumberCO.com" Edgington
Monday 15th of March 2021
Wow you have a nice deck installed there. It looks different from anyone but for me it looks great and nice. The details are there and all of the designs are met. I know your son would love that.