Semi-DIY Excavation & Landscaping
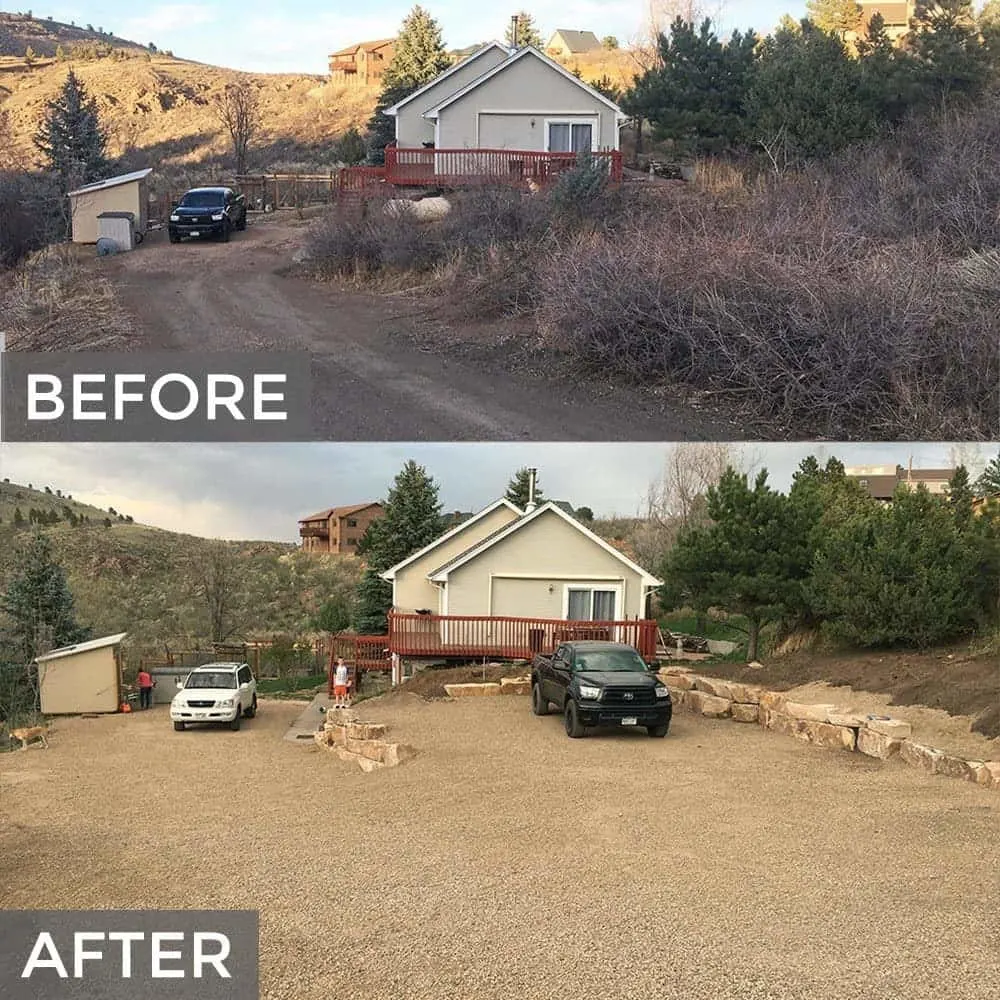
The idea was to carve out this scrub brush, remove a fire hazard and create more space for some useful land. And now that it’s done, the kids loving playing catch in the massive, new driveway. It’s been perfect, well worth the effort. In this post I’ll explain my process and reasoning for creating this expanded driveway. Hopefully you can pull out of this post some driveway entrance landscaping ideas + use boulders as a cheap driveway edging (cheaper than concrete).
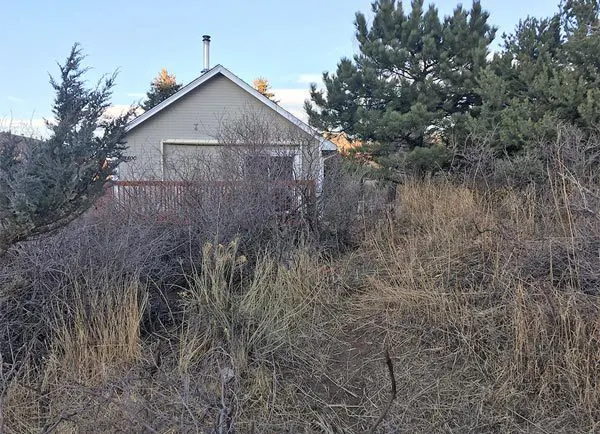
There was no shortage of scrub brush to cut through and remove. It took weeks to get through all of it. I received several quotes for removal from local companies but they were all just silly, so expensive! I bought a chipper shredder instead, I was going to do this myself. It took awhile but was worth it. + I got some extra bonding time with my kids (they were great helpers).
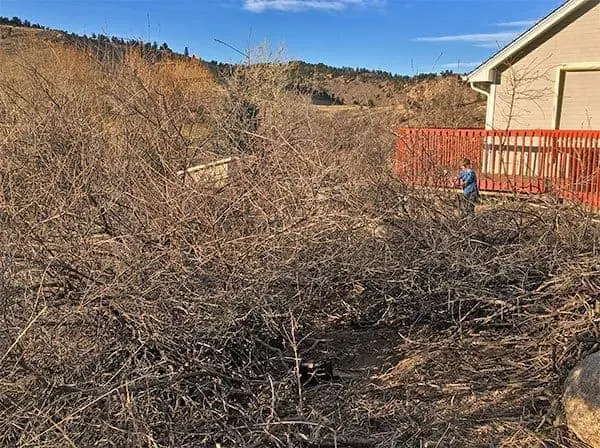
I learned a lesson about clearing brush, wear a long sleeve shirt. My arms got destroyed, they were a bloody mess. Well actually, the truth is, I didn’t actually learn a lesson, I never wore long sleeves. Oops. But my arms looked pretty sweet for a couple of weeks.

Tazz Chipper Review
On to a little unsolicited product review…
The Tazz Chipper Shredder is an absolute beast of a machine. It’s one of those tools that I’m pretty sure I couldn’t live without now. I rented a large chipper shredder a few years back (from Home Depot) and it was pitiful. It didn’t chip or shred. I brought it back a few hours after I picked it up and HD was great, they just offered me a refund. With that bad chipper shredder experience looming I was skeptical about a small chipper shredder I had never even heard of. Luckily, thanks to a mountain of Amazon reviews, I went for it. It took about an hour to assemble and it was ready to go.
After the first 5 hours of use I drained the oil and put in new oil. Other than that, it’s just topping off the gas about every 2 hours of use. In the short time I’ve owned it it’s been perfectly reliable and predictable.
One gripe I have about it is with all the smaller branches, they can get stuck between the bag and the blade unit. I’m pretty sure this is unavoidable but it’s a slight nuisance worth noting. And it just might be me, I worked this little chipper hard.
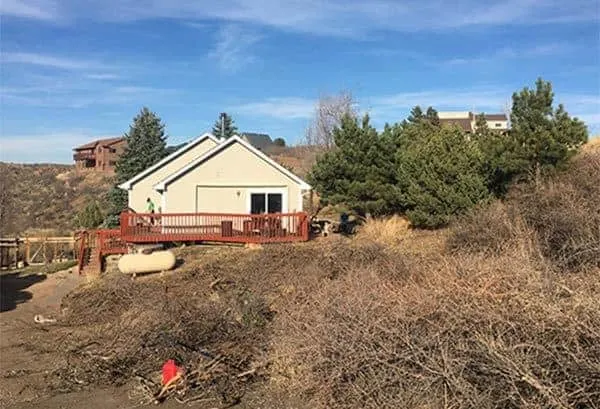
The clearing brush process took weeks. Hours and hours of using one set of loppers. That’s right, 90%+ of all that brush… one lopper. It was a solid workout, highly recommended. We’d create large piles of scrubby, twisted brush and one by one pushed it through the chipper shredder. It’s now mulch throughout our property. I’m pretty sure that the amount of mulch we created is = to half the cost of the chipper. Perfect.
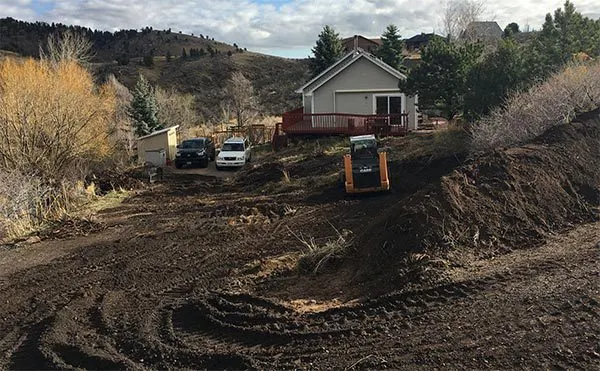
Excavation with a Skid Steer
Then it was on to the skid steer work. I wish I owned one of these things. And with that I wish I had an ounce of skill with one of these things but I don’t. The last time I used one was in 1999 when I worked for the city of Sauk Rapids in Minnesota. And I was no good then.
This meant I needed to find someone who was willing to take specific direction from me, have real skill and some availability. Lucky for me a neighbor, Orvin, from Miller Concrete came by to give me a quote on some concrete work. As we got to talking I learned that he had skid steer skills and was willing to work on the project. We got started a few weeks later.
I basically went point by point what needed to get done and he worked through it and was amazing. Great guy with a ton of skill, was a flawless endeavor. As much as I wished I could have done what he did, wouldn’t have happened… hopefully one day.
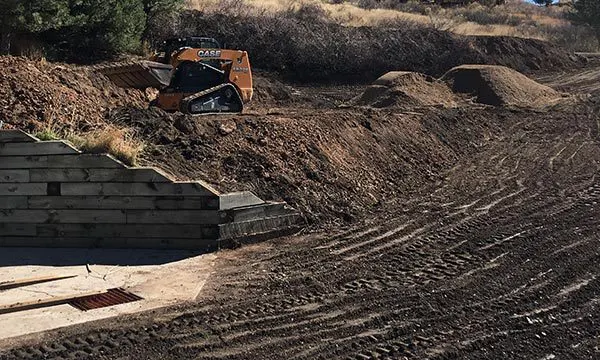
There was a surprising amount of dirt moved and throughout I was focusing on drainage. Only time will tell but I think we got exactly what I wanted to get accomplished. Increased the driveway on the west side and flattened out the larger area and created a slightly modified slope with a berm where driveway meets street to divert water from higher up the mountain.
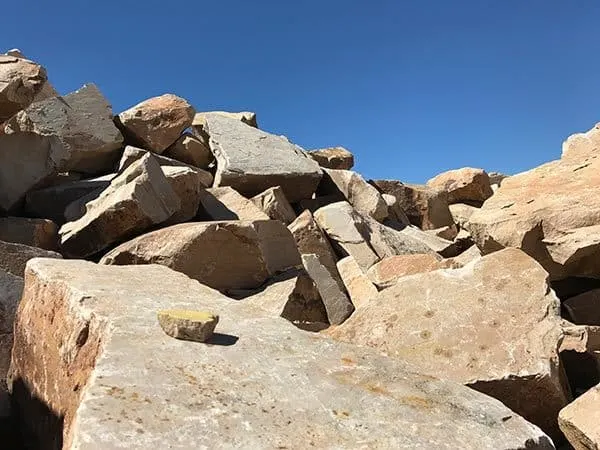
Large Boulders for Landscaping
Luckily, about 5 miles away there’s a stone quarry that has large “rip rap” boulders. The process was pretty simple. I signed a waiver then drove up on top of the hill where there are large fields of rock piles. I would spray paint smaller rocks and place them on top of the boulders I wanted. I selected around 20 the first time (which wasn’t enough).
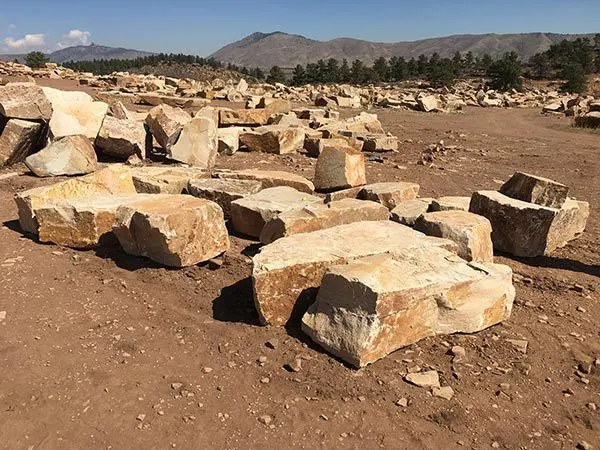
I drove up after they pulled the rocks for the large rock pile and placed them in one section prior to delivery. I had to go back a second time to select another 28 rocks (and we still could have used a few more). Rocks like this in our region are $60 per ton. And a ton is about the size of a bathtub. These boulders ranged from a little less than a ton to about 2 tons a piece on average.
One of the best parts of this whole process was the delivery of these boulders. They came in a large dump truck and when they fell out, it was so cool (my 8 year old self got excited)! Our kids were at school so they couldn’t witness it but we got a video… and they loved it.
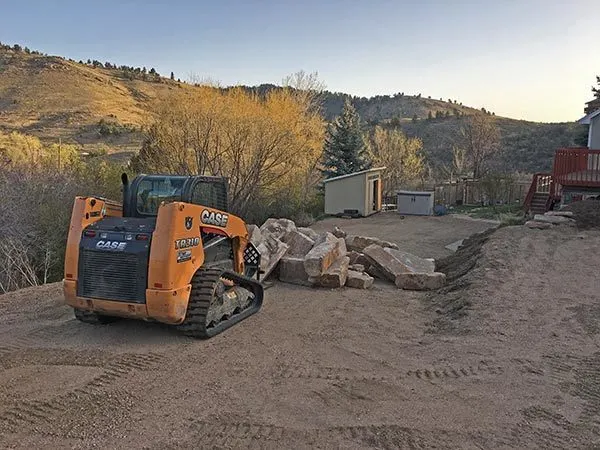
The rock placement is done with the skid steer and a fork attachment. This process takes awhile as you can imagine. It was hard to find “just the right” rocks that would fit together. And when they weigh this much, nothing is easy.
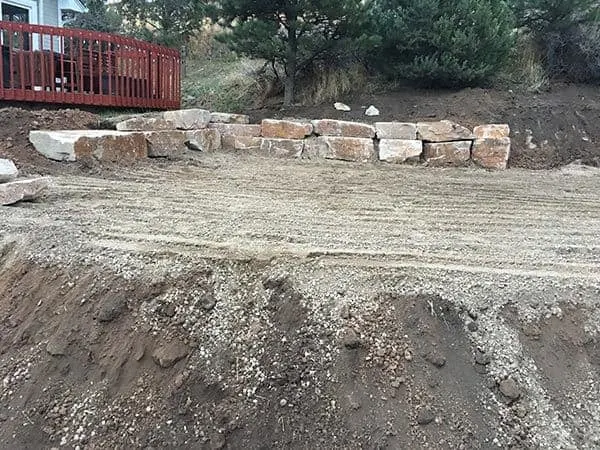
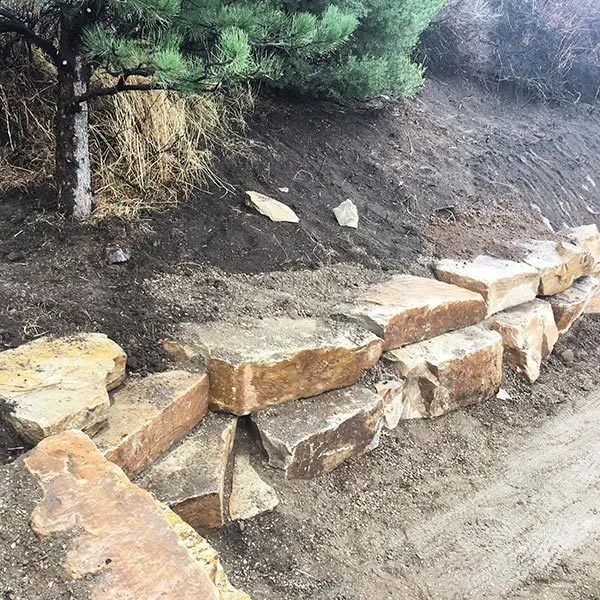
Luckily with this type of landscaping, boulder placement is really… well any way you’d like it be. And this design fits in to the natural landscape. This was a much better idea than a concrete wall or paver blocks (in an area like ours).
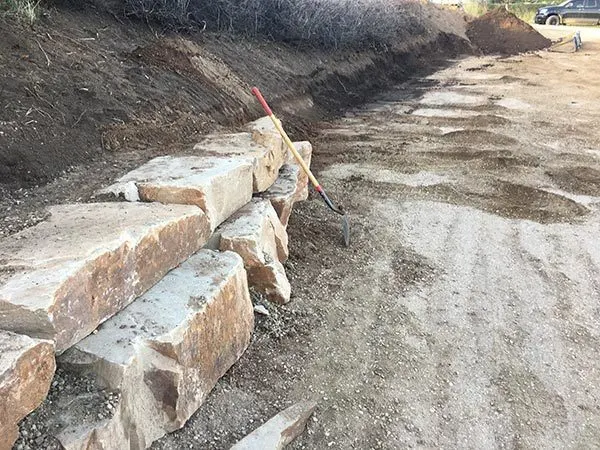
Take Your Time and Plan
When placing boulders for a retaining wall like this, you want to make sure to place the larger boulders on the bottom. This way those smaller boulders will be more firmly placed. Be prepared for a lot of intermittent shovel work to level out the spots where you’re placing the first line. This process is a two person job, one operating the skid steer and one working the shovel and selecting the rocks for placement. Note: is very hard seeing out of the skid steer directly in front due to the fork attachment (blocked vision). Coordinated hand signals are a good idea.
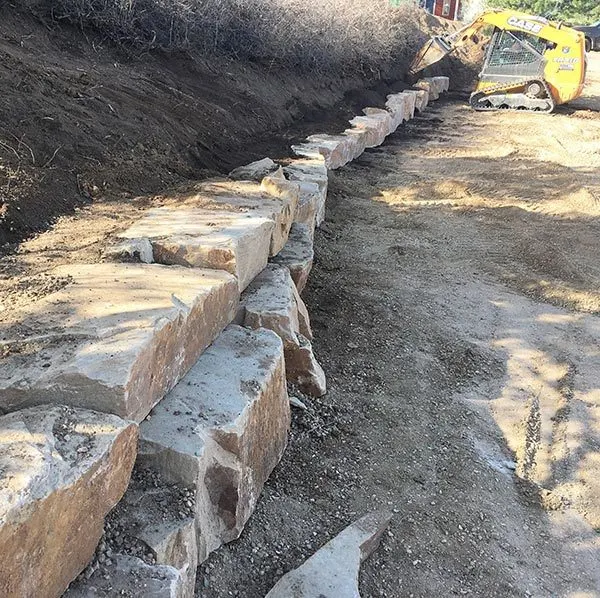
After all the rocks were placed we filled in with dirt and then road base. The process of clearing this area (with a skid steer, after the brush was removed) and placing the rocks and then leveling was 3 solid days. It took planning and money but was worth it. The choice of large boulders for the landscaping beside driveway is just right in a mountain setting.
DIY Driveway Project
The time following includes a lot of shovel and rake work to level out the whole. After the precise shovel and rake work I drove back and forth on the driveway (to pack it down) for about an hour on two occasions. For this project we had to get a little creative for the driveway landscaping with rocks but in the west, it’s just right.
Hopefully this driveway landscaping idea will spark your next project. If you have any questions about anything, leave a comment. Next for me is to figure out an ornamental (tall) grass for the large mound along side the road, I’ll need to get working on some driveway border plant ideas and end of driveway landscaping ideas using plants in this semi-arid climate (that won’t just die after I plant them).

Chris Pederson
Friday 29th of January 2021
Thanks for the tip to place the larger boulders on the bottom. I don't think I'd be able to move them on my own. I'd definitely near to hire someone to build one for me.
Annie Krogman
Friday 17th of July 2020
Honestly saying, your offered DIY Driveway Landscaping Idea is extremely fascinated that has instantly captured my attention. I was looking forward to clear more space for making a beautiful playground for my children. You have determined the most appealing way of making it possible. I would surely follow it.
Pam
Friday 29th of May 2020
Blonde Ambiton is an ornamental grass that grows well in dry areas. It's seed heads go sideways like little flags and when the sun is behind it they look really pretty.
Karen
Friday 7th of July 2017
Looks good! Lots of work. Have you considered the wild roses? We can get them from the forest service here. They have some other ground covers and grasses. I think you have to have 5 acres but not sure.